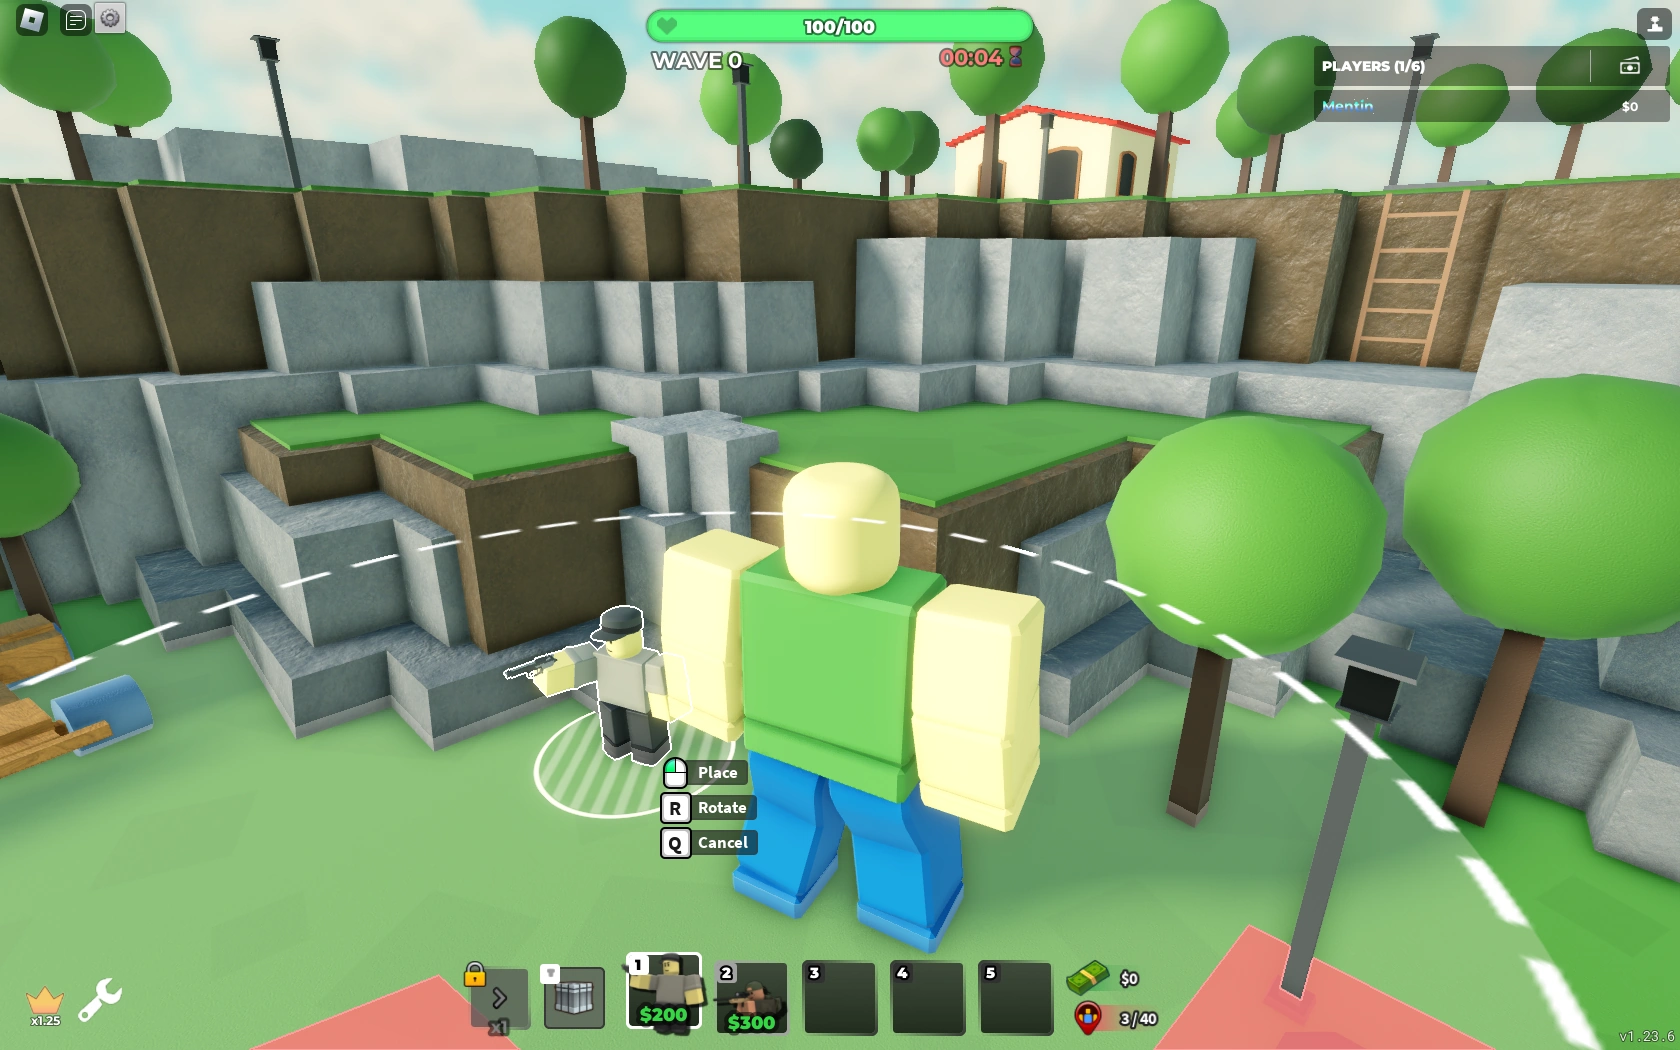
Select a tower with its hotkey or its icon. PC cancel is Q and rotate is R. Mobile placement is a double tap. The tile is legal only when the main range circle is white. Other towers, red spots, and obstacles can still block a white-looking tile.
Ground, cliff, deadzone
Scout and Soldier are ground towers. Sniper and Ranger are cliff towers. Cliff tiles light up while a cliff tower is in your hand. Rocketeer has a red inner deadzone; enemies in that red circle are not targeted. Necromancer and Engineer can show an orange circle as well. Orange is not automatically a deadzone. Read it on that tower.
You can place 40 towers in solo, 30 in a duo, 25 in a trio, and 20 in a quad. Military Base has a further placement limit of its own.
Targeting
The upgrade card lists seven targeting modes. First is the default.
- First, Last, Strongest, Weakest, Closest, Farthest, and Random.
Strongest is the usual boss setting. First is the usual leak setting. Change it when the wave changes, instead of leaving Strongest up while fast enemies exit.
Hidden enemies need hidden detection. Flying enemies need flying detection. Lead-style enemies need lead detection. The icons around the upgrade portrait show what the next level adds. Moltens are cited as enemies Pyromancer burn does not affect. The Warden enemy can stun towers, which is separate from the Warden tower.
Upgrades and skip
Main-path upgrade is E. Bottom path is T. Towers have three to six upgrades. The last level greys out the upgrade button. Skip wave pays the reward now and starts the next wave now, which stacks enemies. Default base health is 100. HP Locked forces that 100 regardless of level.
Consumables such as AirStrike, Flash Bang, and Damage Flag sit in a four-slot consumable bar. They have a match limit and a cooldown, and they are turned off in Hardcore and on some challenge maps.